Beginner guide to Authenticating SSH with YubiKey - Simplified Setup
Introduction
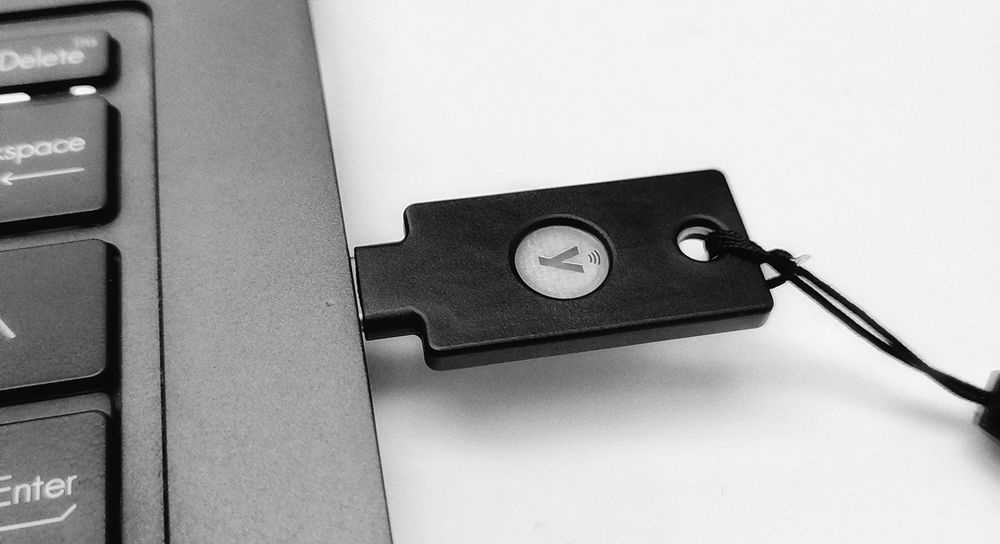
Alright, so I’ve been messing around with SSH for a bit now, every time I gotta set up a new machine, I find myself generating a new key pair. Honestly, Which is too much work and also I’ve been lazy AF to explore better alternatives. And about a month ago, I copped myself a YubiKey and started using it for FIDO and 2FA, which is sick, by the way.

Fast forward to today, I’m setting up a new rig, and I’m like, “Can I use my YubiKey for this?” like in a Sci-Fi hacker-like way— just plug in the key and bam, I’m in. So, I did a quick Google search and boom, turns out, I can use my YubiKey for SSH. I couldn’t help but wonder why I hadn’t thought of this before.
Imagine this: You get your hands on a fresh new machine. Now you gotta generate a new key pair, then upload the public key to the server for every server or service you wanna authenticate with.
Or maybe you’re on a shared machine or borrowing a buddy’s laptop. You need to clone your private repo real quick but you’re hesitant ‘cause setting up an SSH key feels like too much effort, and you don’t wanna forget to delete the key pair or revoke the permission later.
But with your YubiKey, you just plug that bad boy in and effortlessly authenticate and log in, no extra steps required, and the actual key stays off the machine.
I mean, how freaking convenient is that?
So, for those of you who, like me, are too lazy to look for better solutions but still want an idiot-proof way to do things, here’s a guide. Oh, btw I’m rocking a YubiKey 5 NFC on my Microsoft™ Windows™ 11 setup.
Why YubiKey for SSH?
- Effortless Security: Ditch the keypair generation. Just plug in your YubiKey and tap for secure logins.
- Convenience: No complex passwords to remember. Just your PIN and a tap.
- Rock-Solid Defense: A physical layer of authentication. No one can log in without your YubiKey.
Prerequisites
- A YubiKey
- openSSH version 8.3 or later
Step 1: Check Your OpenSSH Version
Make sure you’re rocking OpenSSH version 8.3 or newer. Pop open your terminal and type ssh -V. If it’s not up-to-date, think about upgrading for for optimal YubiKey compatibility.
Understanding YubiKey Authentication Methods
YubiKey supports various authentication methods for SSH, including
- FIDO2,
- PIV,
- OTP,
- and PGP.
I’ll be using FIDO2 for simplicity’s sake.
FIDO devices are supported by the public key types “ecdsa-sk” and “ed25519-sk”, along with corresponding certificate types.
Starting with 8.2p1, OpenSSH can handle registering and authenticating with FIDO2 Credentials, supporting both Discoverable and Non-Discoverable Credentials. If you’re scratching your head about Discoverable vs Non-Discoverable Credentials, just roll with Discoverable Credentials.
Step 2: Generate a New Key Pair
Slap your YubiKey into the system and open your Microsoft™ Windows™ 11 terminal in admin mode. Type this command to generate a key using the ECDSA curve:
1ssh-keygen -t ecdsa-sk -O resident -O application=ssh:PlaceHolder -O verify-required
If you’re into the Ed25519 curve (requires YubiKey firmware 5.2.3 or higher), use this command instead:
1ssh-keygen -t ed25519-sk -O resident -O application=ssh:PlaceHolder -O verify-required

Replace ”PlaceHolder” with something that helps you remember where this key is being used, like a server name or your fav waifu name. This identifier is handy when reading discoverable credentials from the YubiKey. SSH will ask for your PIN and a touch on the device.
SSH will save two files: id_ecdsa_sk (which is not a private key but a reference to the private key credential stored on the YubiKey.) and id_ecdsa_sk.pub (public key).
Now that you got your key pair, you can use it to authenticate with your server.
Step 3: Add the Public Key to Your Server
Copy the public key to your server’s authorized_keys file and you’re golden.
Step 4: Log in Using YubiKey
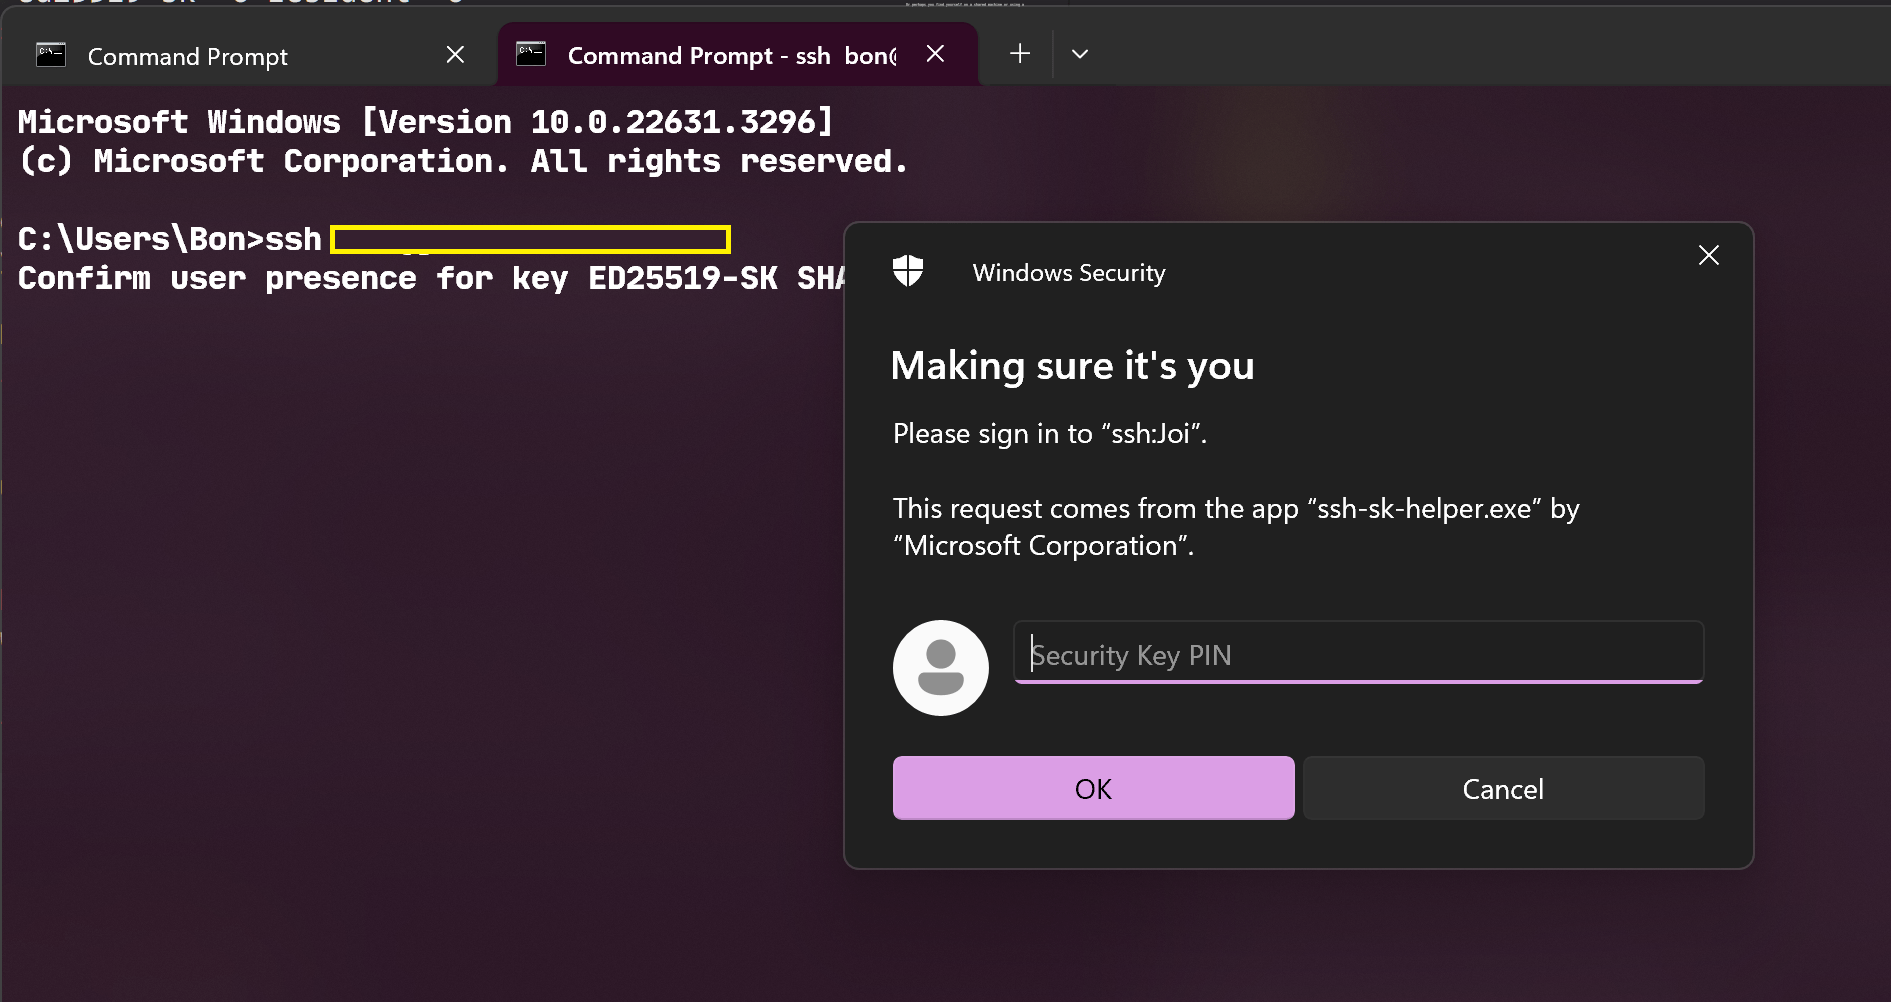
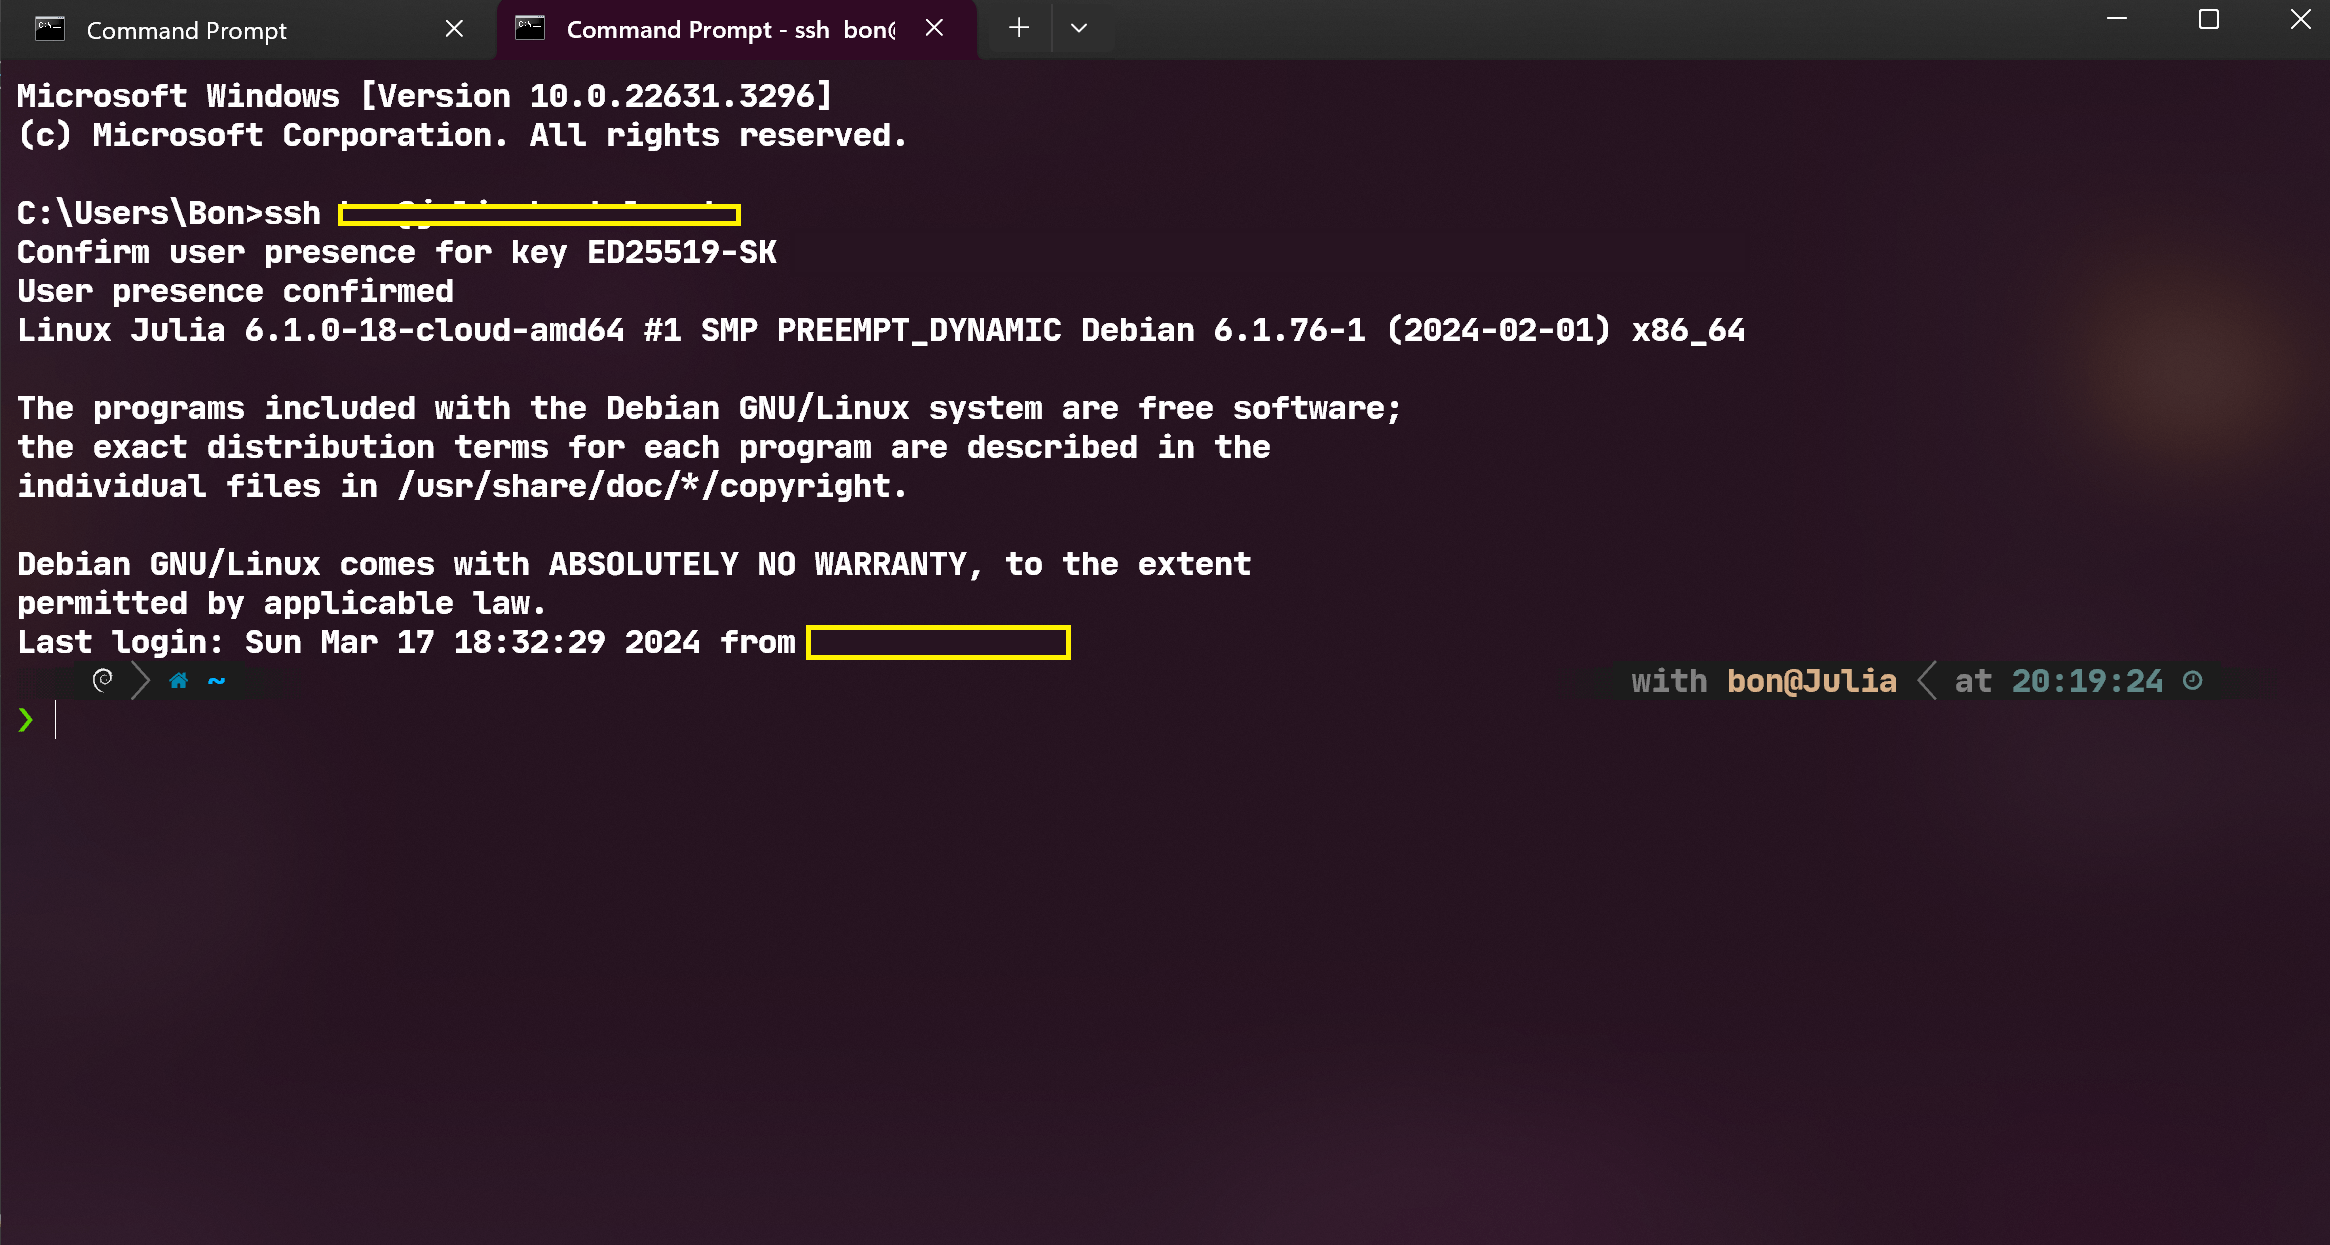
Here’s me logging into my server using YubiKey:


And here’s me cloning a private repo via SSH using YubiKey:

Setting Up on New Machines
If you’re using a new machine, you can export the credentials from your YubiKey and use them on the new machine. This way, you don’t have to generate a new key pair for every machine.
To export the credentials, Navigate to the .ssh directory:
1cd ~/.ssh
Run the following command:
1ssh-keygen -K
SSH will ask for your PIN and a touch on the device. If this is the only credential on the system, you can rename the exported credentials as id_ecdsa_sk and id_ecdsa_sk.pub for smoother authentication.
Using YubiKey with Windows Subsystem for Linux (WSL)
In addition to a native SSH client, the Windows OpenSSH beta release also contains an SSH_SK_HELPER that can be used to bridge the host’s FIDO2 support to WSL. All of this configuration must be done from inside the WSL environment, and relies on the Windows environment to be working correctly.
The SSH_SK_HELPER environment variable must be set to the path of the ssh-sk-helper.exe binary from the OpenSSH beta release. For example put the following in your rc file (e.g. ~/.zshrc or whatever your way of set-up) to set the environment variable for the current session:
1export SSH_SK_HELPER="/mnt/c/Program Files/OpenSSH/ssh-sk-helper.exe"
The SSH identity files (id_ecdsa_sk and id_ecdsa_sk.pub) must be available in ~/.ssh/
Once those prerequisites are met, the openSSH client inside the WSL environment can be used seamlessly with the YubiKey plugged into the Windows host.
Conclusion
Using YubiKey for SSH authentication is a convenient and secure method, especially for those who are tired of generating new key pairs for every machine. With the support for FIDO2 credentials, OpenSSH provides a seamless way to enhance security while simplifying the authentication process.
I hope this guide helps you set up your YubiKey for SSH. If you have any questions or suggestions, feel free to drop me a message through https://bontal.net/contact